A book’s record
Everything Couvertures knows about a book, what you add to it, and the images to share it.
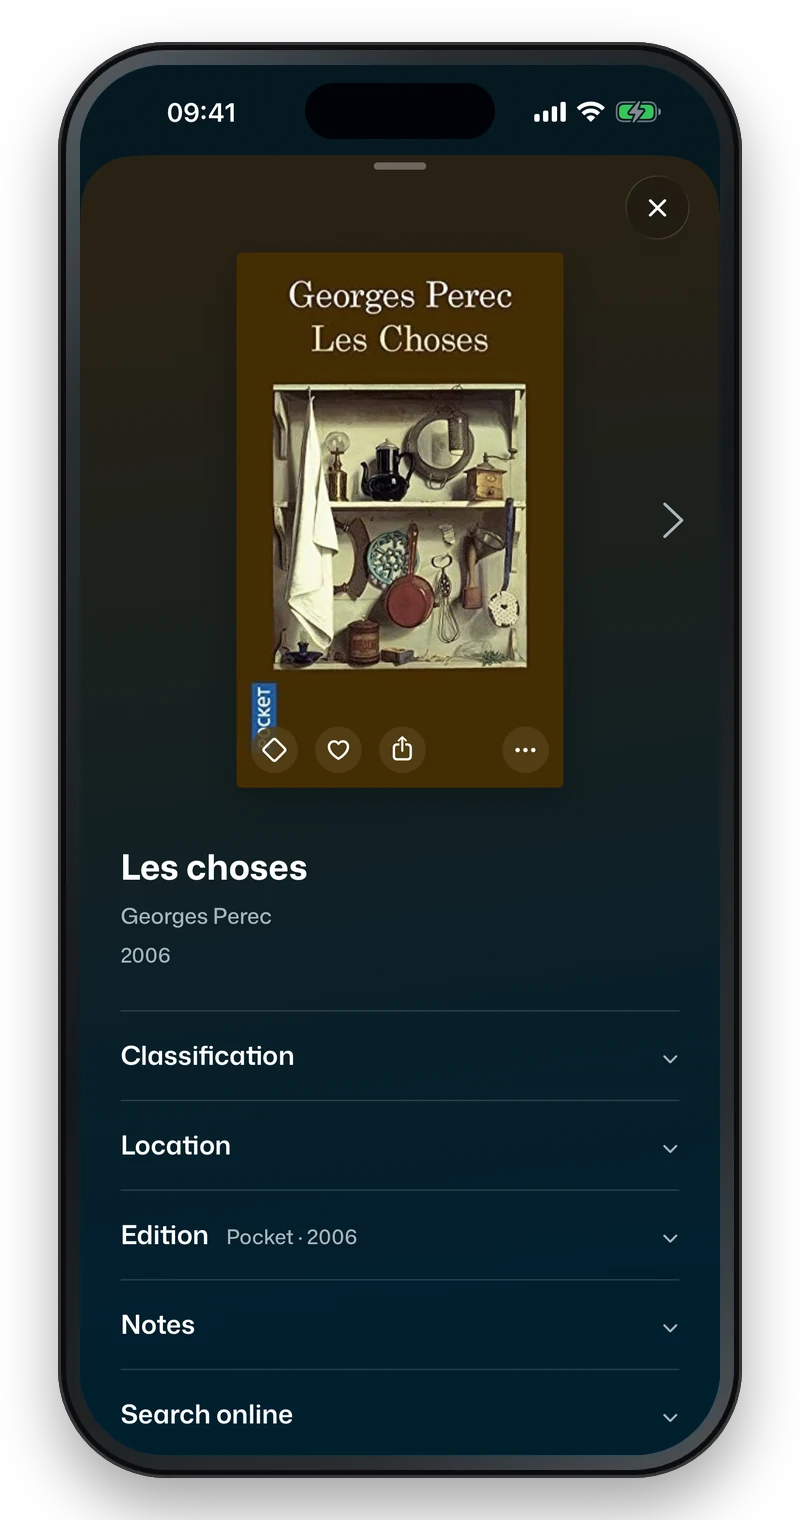
Click a book on the Mac, tap it on the iPhone: its record opens, tinted with the colour of its cover. Everything is edited in place; “Saved” appears as soon as you leave a field.


The top
The cover, large, then the title and the authors, which you can correct; the line year, series, category › subcategory, and what you have read of it (“Read in March 2026”); on the Mac, a click on the category opens its shelf, a click on the reading opens its bubble (below). Then what the book is about: its back cover, if you photographed it, otherwise the summary found online; when the two say different things, “Back cover · Summary” switches between them. “Read more” unfolds it; a small space separates the paragraphs.
From one book to the next: the arrows ‹ › on either side of the cover go to the previous or next book, in the order of the library as displayed, with your filters and your sort. On the Mac, the keyboard arrows do the same (← → ↑ ↓ in a grid, ← → in rows), and the library scrolls to the chosen book. On the iPhone, swipe the record sideways.
The cover
On the Mac, on hovering the cover, buttons in circles of the book’s colour: bottom left, the diamond (Precious), the heart (Loved) and Share (below); bottom right, the magnifier (enlarge) and ”…”. On the iPhone and the iPad, the diamond, the heart and Share are always there, bottom left: when the diamond or the heart is empty, a tap adds the book to the list; filled, it takes it out. ”…” is on the right. It is a menu, which also opens on right-click and, on the Mac, in the Book menu. It only shows what applies to this book:
- Crop my photo (⌘K on the Mac): the frame, Rotate, Straighten and Correct the lighting, in one screen: see Cropping a photo, below.
- Correct the lighting, also in the menu: for a grey or dull photo, the white of the paper becomes white again. “Original lighting” undoes it; nothing is lost.
- Photograph the cover (on the iPhone; “Retake the photo” if it already has one): the camera opens over the record; the photo is shown first, the book straightened, Keep the photo, Crop (the frame and the lighting adjusted before keeping it: it goes off cropped) or Retake; the screen then offers the back cover, “Finish” skips it. On the Mac, Take a photo with the iPhone…: the iPhone next to you takes it (Continuity, as in Notes or the Finder).
- Photograph the back cover (on the iPhone; “Retake the back cover”): its text, read on the photo, see The back cover. On the Mac, Read the back cover with the iPhone… or …from an image…: the photo is shown, its paragraphs framed to click, and the chosen text, to correct, on the right.
- Choose an image…: an image from your Mac or, on the iPhone, from Photos. Either way, it becomes your photo of the book and is shown at once; the cover found online is kept.
- Show my photo, Show the online cover: switch between the two, both are kept, and the record’s colour follows. Remove the online cover deletes it. See my photo enlarges it; Remove My Photo… deletes it, with its original, after a question (the online cover stays).
- Search online: see below.
- Reading (on the Mac; Listening or Watching for a disc): the bubble for what you have read, below.
Cropping a photo
Crop opens wherever your photo is: in the record (”…”, Crop my photo; ⌘K on the Mac), on a Review card (the round button on your photo), right after photographing a cover (Crop), and, away from the Mac, on a photo waiting to be sent. It is the same screen everywhere:
- The frame: drag it, or pull its corners and edges; the rule-of-thirds grid helps line it up with the book.
- Rotate (the round arrow): the photo turns a quarter turn to the left, as in Photos, and the frame follows. A photo taken on its side, often with the iPad, or chosen from Photos and arriving sideways, stands up in one or two taps. ⌘R on the Mac.
- Straighten: the slider tilts the frame up to 45°, for a photo taken slightly askew; Level sets it back to zero.
- Correct the lighting (the contrast symbol): the white of the paper becomes white again, the tint of a lamp goes away; the photo shows it at once.
- Apply saves everything at once. Whole photo keeps the whole photo (turned, if you rotated it). Cancel changes nothing.
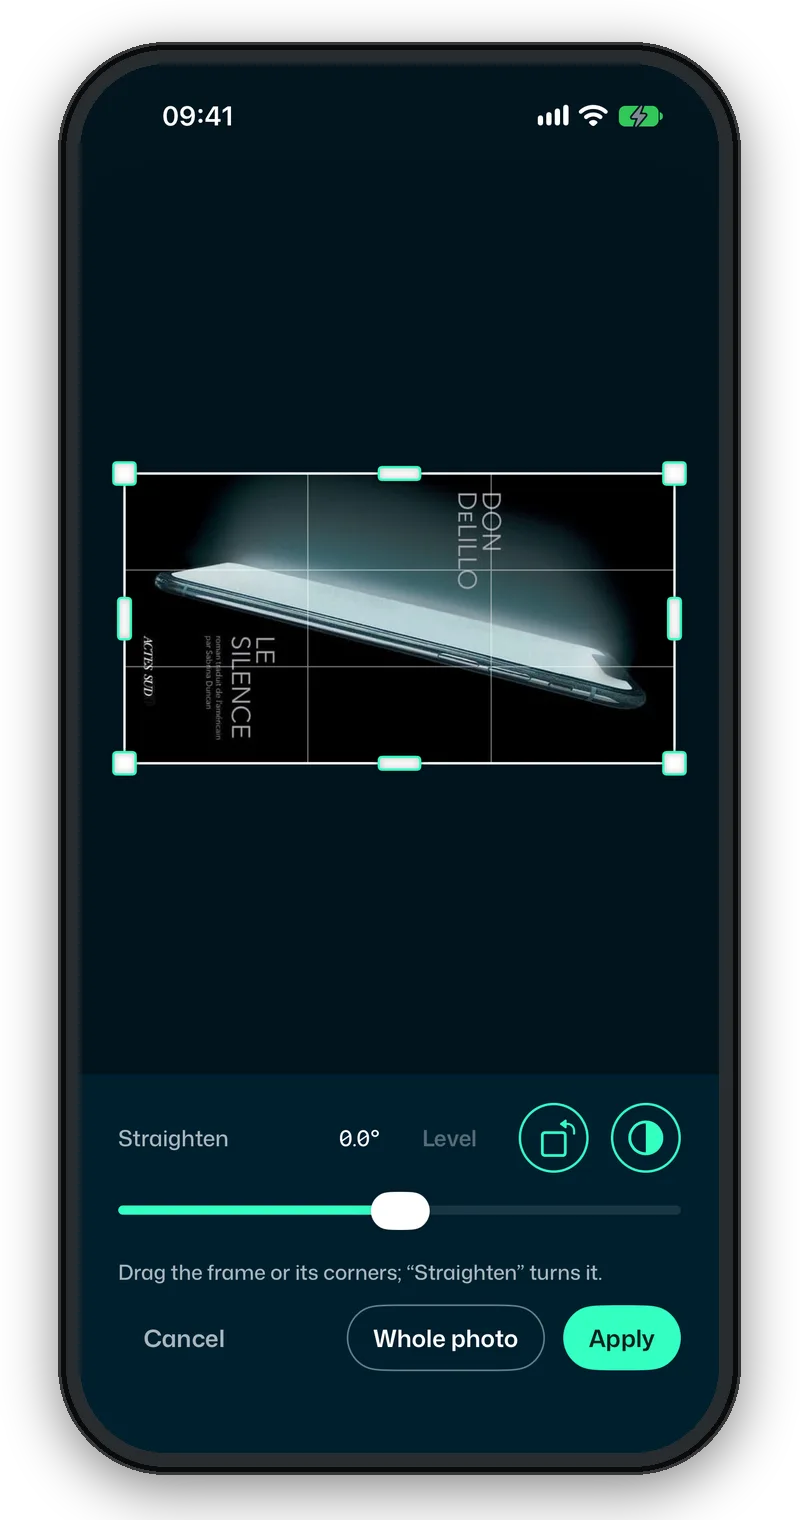
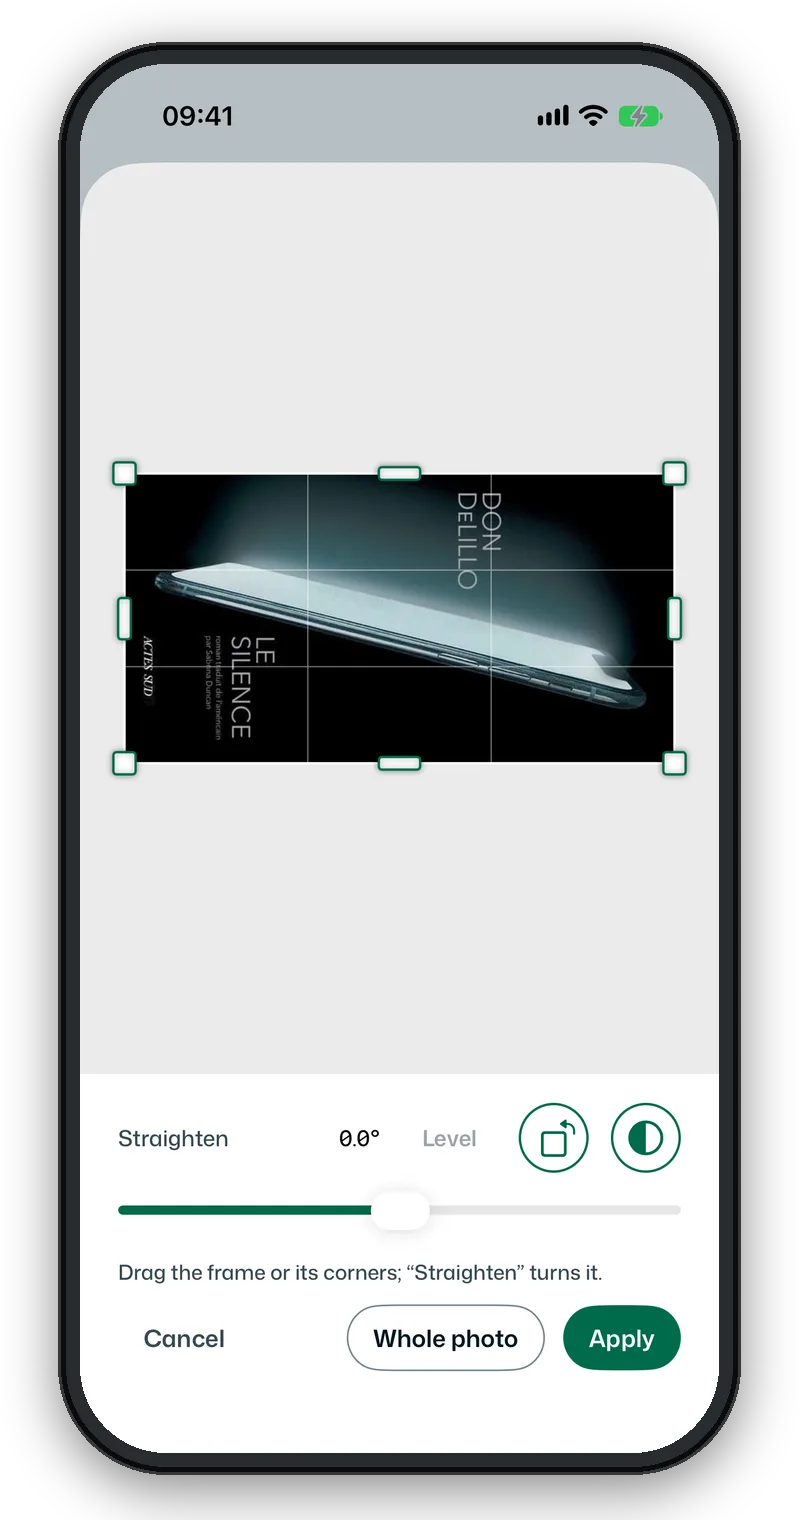
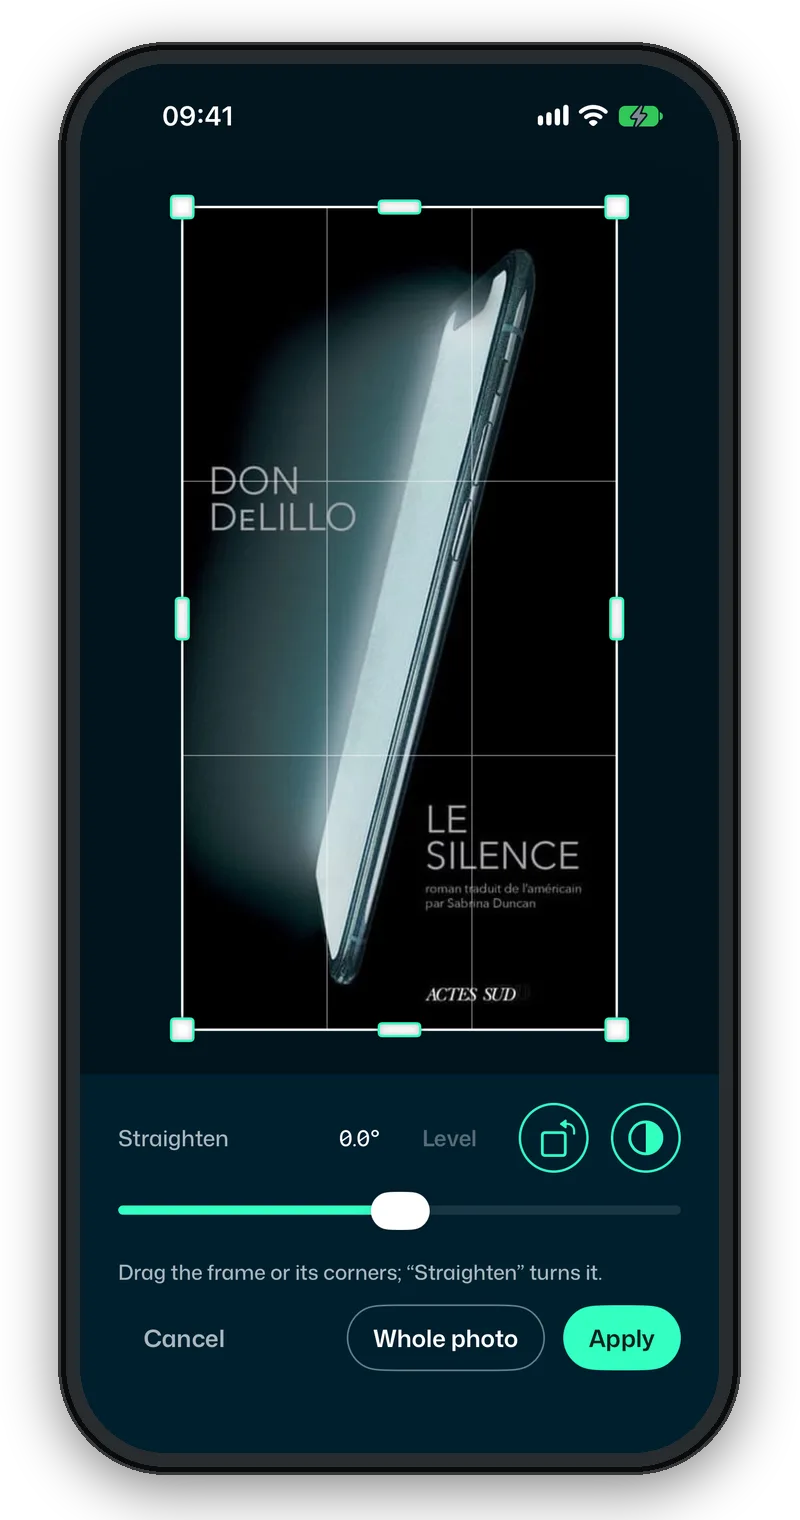
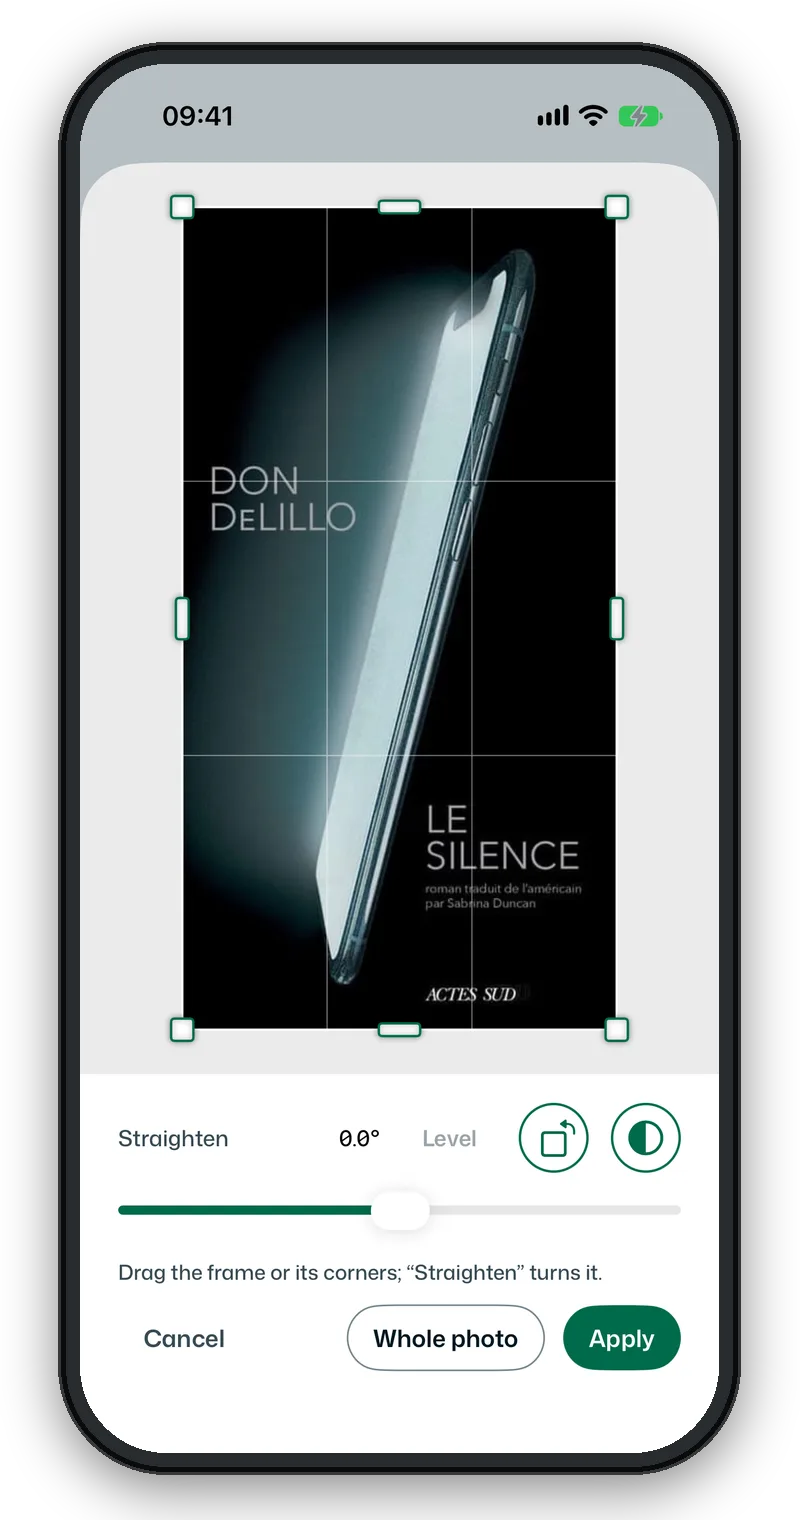
The original photo is kept: open Crop again to change your mind, the photo shows as you left it, rotation included. If Settings → Photos → “Keep the original photos” is unchecked, cropping starts again from the already cropped photo. Away from the Mac, see The iPhone away from the Mac.
The sections
Under the top, folded sections; only one opens at a time.
- Classification: category and subcategory, lists (“Precious”, “Loved”, your lists, and “New List” to create one), keywords. As you type, values already in use are suggested. Under the fields, a quiet line also suggests what similar books carry (same category, same author…): ”+ Painting” is set with one tap. With an AI set up, the sparkles at the end of the keyword line ask it for three keywords for this book, yours first; nothing goes to the AI without that tap. The category, subcategory and location have their line while they are empty.
- Location: where it is, its condition, and the loan: to whom, since when; “It’s back” clears the loan.
- Edition: the medium (Book, DVD or CD), publisher, year, ISBN, pages, language, series, summary, back cover (the text of the back, to correct here). A DVD or a CD has its own words (label, EAN, format); a movie’s poster and summary often come from TMDB: see Discs.
- Notes: yours.
- Search online: to correct the edition or change the cover. Type title and author, or the ISBN, then on a result Use everything (the details and the cover) or Cover only. Your organisation, your location and your notes never change.
At the very bottom, the date added and Delete this book (Delete This Disc), after confirmation: the photo and the cover are erased with it.
What you have read
On the Mac, Reading in the cover’s ”…” menu, or the line “Read in March 2026” under the title, opens a bubble:
- Not specified, To read, Currently reading, Read. Switching to “Currently reading” starts a reading today, “Read” finishes it today; correct the dates afterwards.
- Started and Finished are written as you like: “2019”, “March 2019”, “03/12/2019”.
- Read again, once the book is read, adds one; earlier readings stay below, each with its cross.
On the iPhone and the iPad, the line “Read in March 2026” shows, but the reading isn’t set there: it is set on the Mac, when the library lives on it. On the Mac, to mark several books at once, drag them onto a state in the “Reading” group of the filters (see Several books at once).
Sharing a book
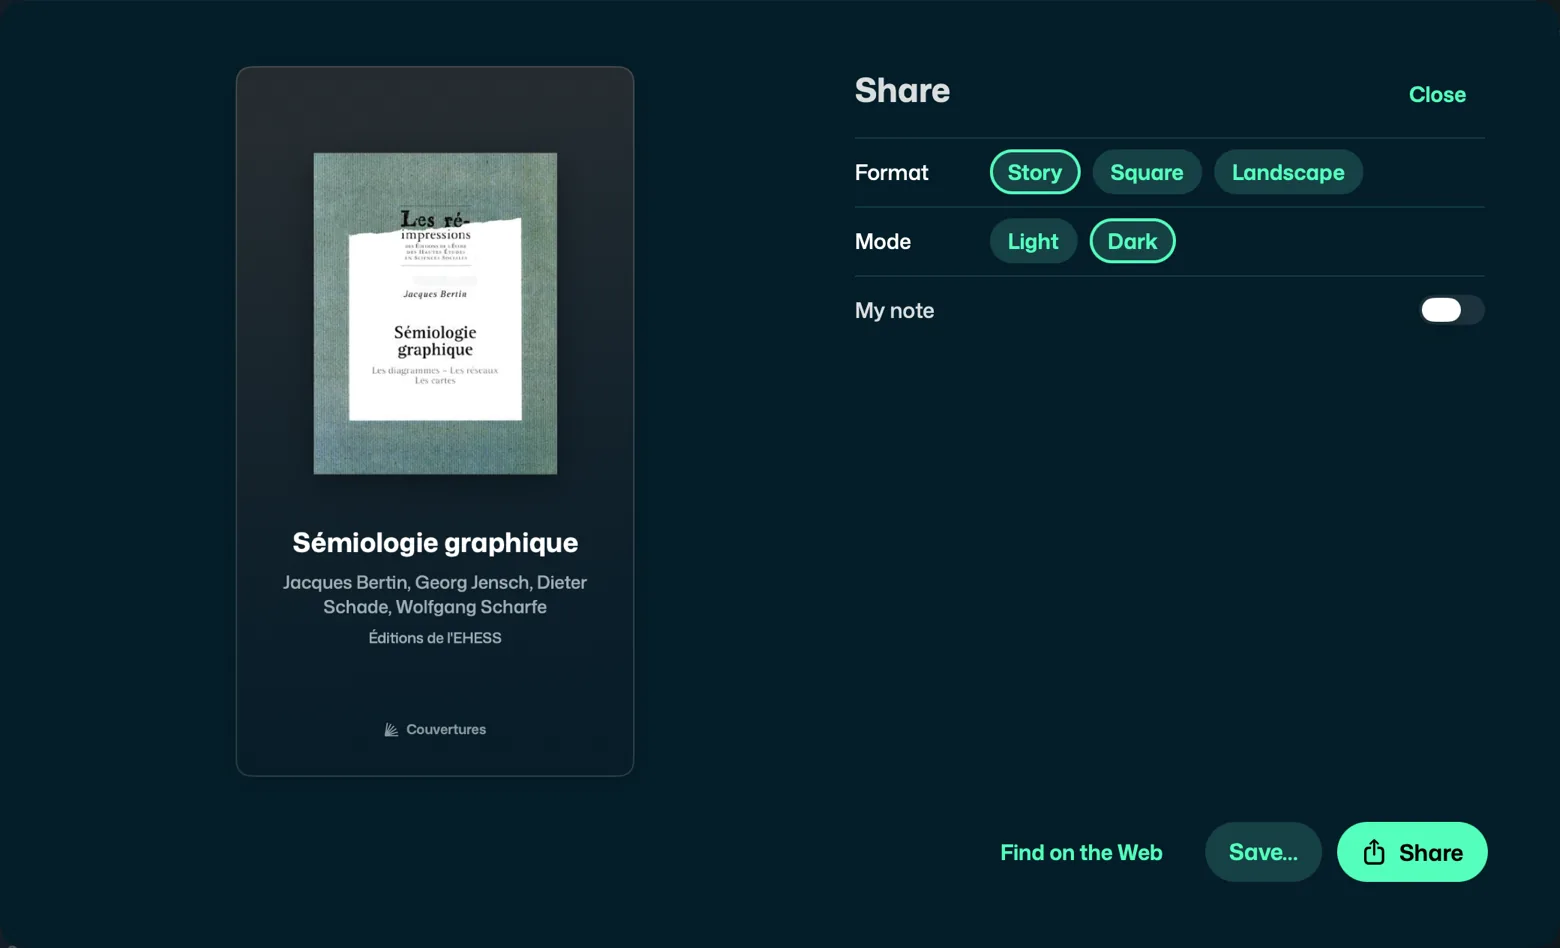
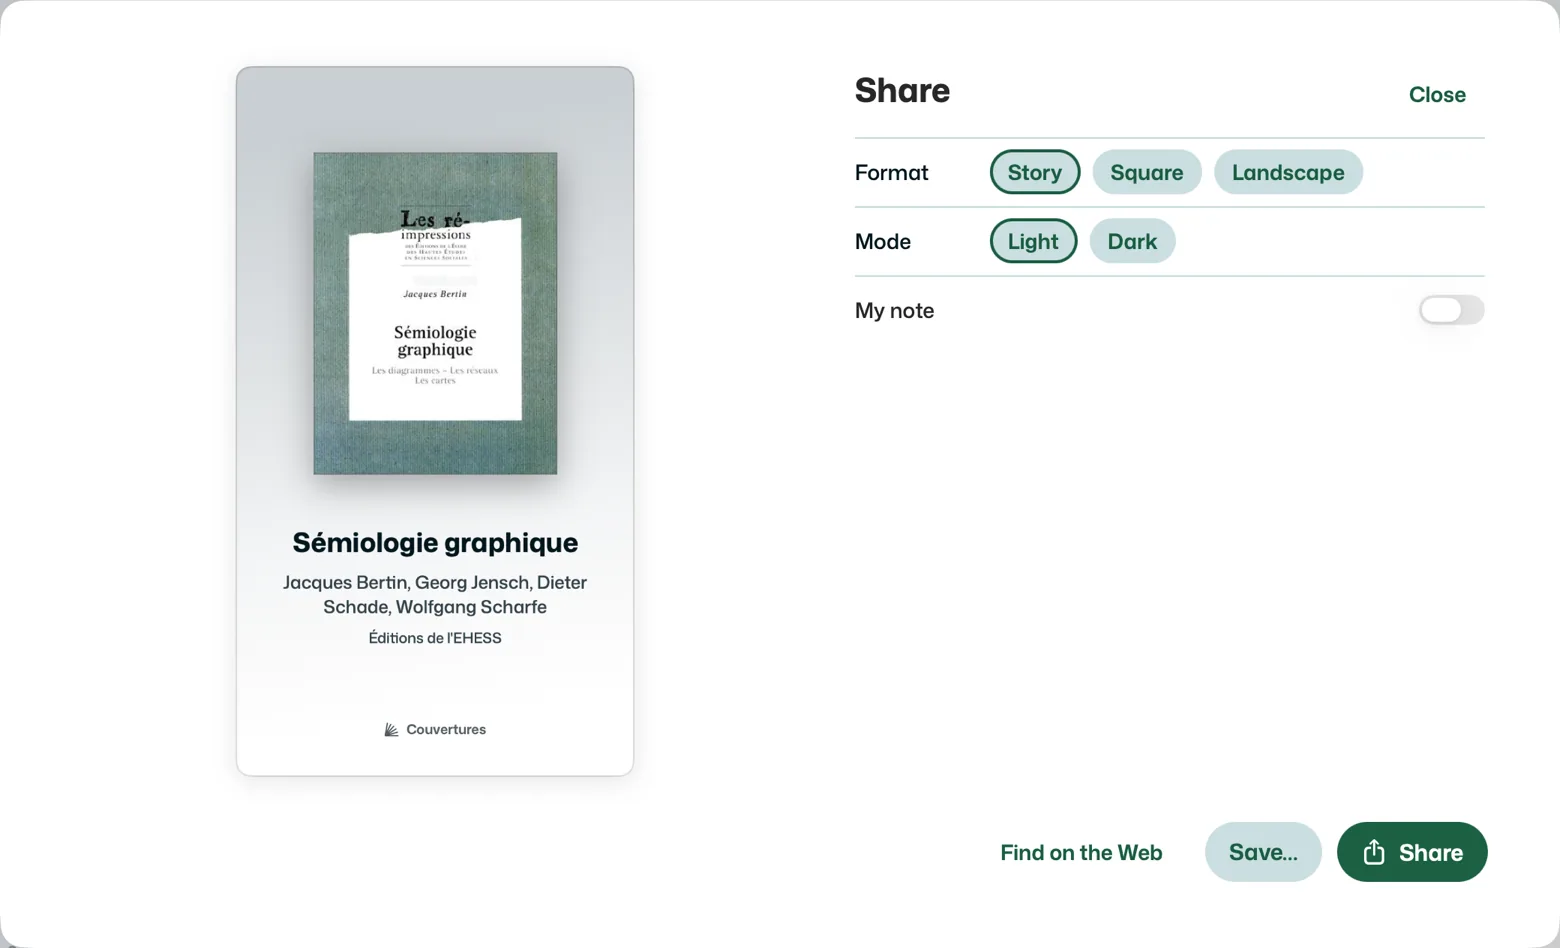
Share, on the cover or, on the Mac, in the Book menu, makes images of the book, for Messages, WhatsApp, Instagram, AirDrop or Photos: the cover, large, the title, the authors, the year and the publisher, then, if you wish, your note on a second image. Next to the preview:
- Format: Story (upright), Square (the Instagram feed, Facebook) or Landscape (X, LinkedIn, an email). The last one chosen is kept.
- Mode: light or dark, whatever the app’s mode.
- The summary, My reading (“Read in March 2026”): tick them to add them. For a disc, My listening (“Listened in March 2026”) or My viewing (“Watched in March 2026”).
- My note: one more image, with your text. It starts from the record’s notes, which may be private: read it again before sending. Your name signs it at the bottom right.
On the iPhone, the format and the mode are icons just above the preview, and the tones a line of colours just below it: the image changes before your eyes.
The Share button opens Apple’s share menu; on the Mac, Save… keeps them in a file or a folder. A banner then says what happened (“2 images shared”, “2 images added to Photos”, “2 images saved”, with Show in Finder); it says nothing if you cancel. The app knows the images have left, not that they have arrived. The first time an image goes to Photos, the iPhone asks for your consent.
Only what you see on the images leaves: never the location, the condition, the loan or your photo of the book. For several books at once, see Several books.
Find on the Web, on a book’s share sheet and in the Mac’s Book menu, looks the book up in your browser, after a word for your bookseller: in many countries the price of a new book is set by law, the same in the shop as online. For a disc, the search opens straight away.